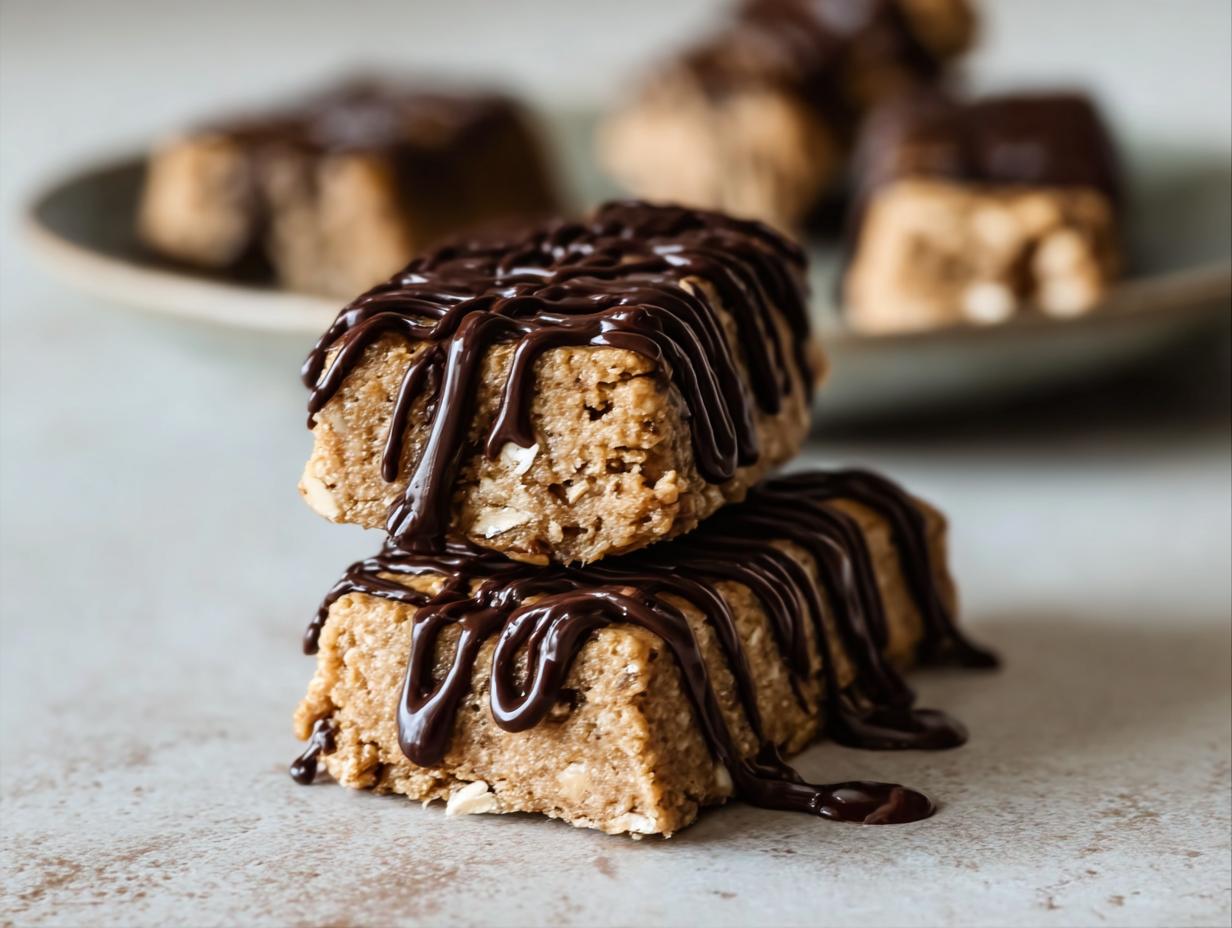
Mini Peanut Butter Protein has been my secret weapon for busy mornings and post-workout recovery for years. I remember one particularly chaotic Tuesday; I was rushing out the door, stomach rumbling, when I remembered a batch of these delightful little bites I’d made over the weekend. The satisfying blend of creamy peanut butter and hearty oats, with just a hint of sweetness, was exactly what I needed. These no-bake mini peanut butter protein bars are so incredibly simple to whip up, proving that healthy eating doesn’t have to be complicated. If you’re looking for the best mini peanut butter protein recipes to simplify your life, you’ve found it! Let’s get cooking!
Why You’ll Love These Mini Peanut Butter Protein Bites
I honestly can’t rave enough about these little powerhouses. They’re the perfect solution for anyone needing a quick, healthy boost!
- Incredible taste: The classic combo of peanut butter and oats is pure comfort, elevated by that protein punch.
- Super fast prep: You can whip these up in under 15 minutes – seriously, it’s that quick!
- Fuel your body: They offer a fantastic source of sustained energy, making them a truly healthy mini peanut butter protein option.
- Budget-friendly goodness: Using pantry staples, these are much more affordable than store-bought snacks.
- Kid-approved! Even picky eaters adore these, making them perfect for lunchboxes.
- Effortless to make: These easy mini peanut butter protein bars require no baking, so no oven needed.
- Versatile snacking: Perfect for breakfast on the go, an afternoon pick-me-up, or post-workout fuel.
Ingredients for Mini Peanut Butter Protein
Whipping up these delicious peanut butter oat protein snacks is a breeze with just a few pantry staples. Here’s what you’ll need:
- 2 cups old-fashioned rolled oats – I like to give these a quick pulse first to break them down slightly for better texture.
- 1 cup crisp rice cereal – This adds a wonderful lightness and crunch to our bars.
- 3/4 cup vanilla protein powder – Using vanilla is my go-to, but feel free to use your favorite flavor!
- 1/3 cup flax meal – This is a fantastic binder and adds extra fiber and omega-3s. Learn more about the benefits of flax meal.
- Pinch of salt – Just a little to balance the sweetness.
- 1 cup natural peanut butter – Creamy or crunchy, your choice! Natural peanut butter works best for binding.
- 3/4 cup honey – For sweetness and to help everything stick together.
- 2 tablespoons coconut oil, melted – This helps achieve that perfect chewy texture.
- 1 teaspoon vanilla extract – Enhances all the flavors beautifully.
- For the chocolate drizzle (optional): 1/4 cup dark chocolate chips, 1 teaspoon coconut oil – Because who doesn’t love a chocolatey finish?
How to Make No-Bake Mini Peanut Butter Protein
Let’s dive into how to make mini peanut butter protein that are incredibly satisfying and simple. This recipe is designed to be fuss-free, so don’t worry if you’re new to these kinds of snacks!
- Step 1: Start by prepping your oats. Take about 2 cups of old-fashioned rolled oats and pulse them in a food processor or blender about 10-15 times. You’re not looking for powder, just a slightly broken-down texture that helps them bind better.
- Step 2: In a large mixing bowl, combine the lightly pulsed oats with 1 cup crisp rice cereal, 3/4 cup vanilla protein powder, 1/3 cup flax meal, and a pinch of salt. Give it a quick stir to distribute everything evenly.
- Step 3: Now for the sticky stuff! Add 1 cup natural peanut butter, 3/4 cup honey, 2 tablespoons melted coconut oil, and 1 teaspoon vanilla extract to the dry ingredients. It might seem like a lot, but trust the process!
- Step 4: Stir everything together with a sturdy spoon or spatula until a thick, sticky dough forms. It should hold together when you press it. If it seems too dry and crumbly, add 1-2 teaspoons of water, a little at a time, until it reaches the right consistency.
- Step 5: Prepare your pan. Line an 8×8-inch baking pan with parchment paper, leaving a slight overhang on the sides. This makes it super easy to lift the whole block out later.
- Step 6: Transfer the sticky mixture into the prepared pan. Use the back of your spoon, a spatula, or even your hands (lightly greased if needed) to press the mixture down very firmly and evenly. The denser you pack it, the better your bars will hold their shape.
- Step 7: Time to firm things up! Place the pan in the freezer for at least 30 minutes. This chilling time is crucial for slicing.
- Step 8: While the mixture is chilling, prepare the optional chocolate drizzle. Melt 1/4 cup dark chocolate chips with 1 teaspoon coconut oil in a microwave-safe bowl in 30-second intervals, stirring in between, until smooth and pourable.
- Step 9: Once the mixture is firm, use the parchment paper overhang to lift the entire block out of the pan. Place it on a cutting board.
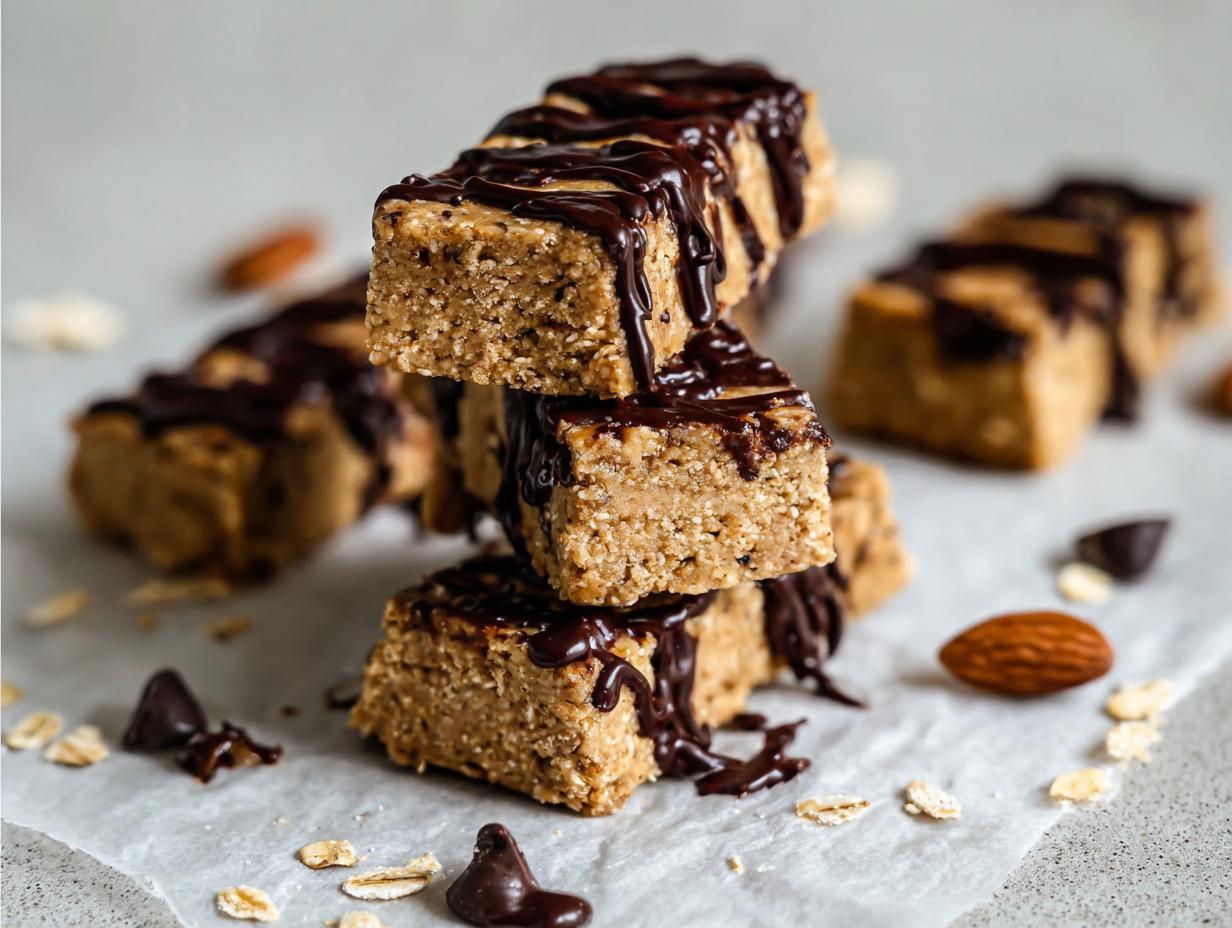
- Step 10: Drizzle the melted chocolate over the top of the block. Let the chocolate set completely before slicing. This is a key step in a great peanut butter protein balls recipe! Once set, slice into 24 mini bars. Enjoy your delicious no-bake mini peanut butter protein creations!
Pro Tips for the Best Mini Peanut Butter Protein Snacks
I’ve made these countless times, and a few tricks really elevate them from good to absolutely perfect. Follow these tips for the ultimate snack!
- Don’t skip pulsing the oats! It truly makes a difference in the final texture, preventing them from being too chewy or tough.
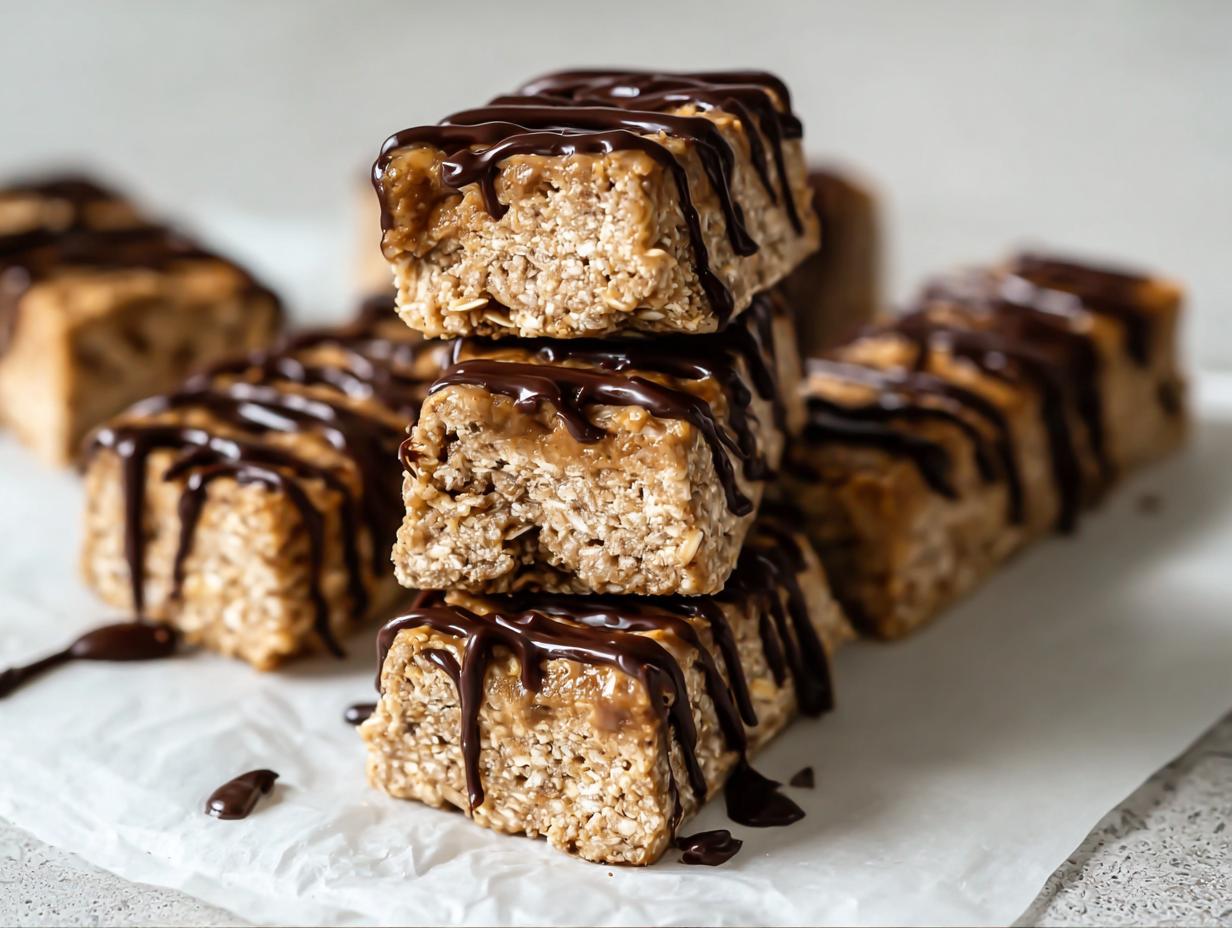
- Press the mixture down *really* firmly in the pan. This is crucial for getting clean cuts and preventing the bars from crumbling.
- If your peanut butter is very stiff, warm it slightly before mixing. This makes it easier to combine everything smoothly.
- For an even richer flavor, try using a mix of peanut butter and almond butter. Explore other nut butter recipes.
What’s the secret to perfect mini peanut butter protein bites?
The secret lies in the texture and binding. Pulsing the oats and pressing the mixture firmly ensures they hold together beautifully. For the best mini peanut butter protein recipes, a good quality natural peanut butter is key for that authentic flavor. Discover more peanut butter delights.
Can I make mini peanut butter protein ahead of time?
Absolutely! These are fantastic for meal prep. You can store them in an airtight container in the refrigerator for up to a week. They’re perfect grab-and-go mini protein snack ideas for busy days.
How do I avoid common mistakes with mini peanut butter protein?
The most common pitfall is an overly dry mixture; if this happens, simply add a teaspoon or two of water or milk. Also, ensure you press the mixture down very firmly in the pan so what are mini peanut butter protein balls doesn’t turn into a crumbly mess. Learn more about common baking pitfalls.
Best Ways to Serve Mini Peanut Butter Protein
These versatile little bars are perfect for so many occasions! I love to pack them into my kids’ lunchboxes as a wholesome treat or grab one myself for a quick breakfast on hectic mornings. They’re also ideal for post-workout fuel, giving you that much-needed protein boost to aid recovery. For an extra decadent treat, try them as chocolate peanut butter protein bites by enjoying them alongside a steaming cup of coffee or a glass of cold milk.
Nutrition Facts for Mini Peanut Butter Protein
These mini bars pack a punch without weighing you down. Each serving is designed to be a satisfying and energizing treat.
- Calories: 140
- Fat: 9 g
- Protein: 7 g
- Carbohydrates: 17 g
- Fiber: 2 g
- Sugar: 5 g
Nutritional values are estimates and may vary based on specific ingredients used.
How to Store and Reheat Mini Peanut Butter Protein
Keeping your delicious mini peanut butter protein bars fresh is super easy, ensuring you always have a healthy snack on hand. Once they’re completely cooled after slicing, transfer them to an airtight container. This is key to maintaining their texture and preventing them from drying out.
For immediate enjoyment, store them in the refrigerator for up to 3-4 days. They stay wonderfully firm and satisfying. If you want to stock up for longer, these bars freeze exceptionally well! Simply wrap individual small peanut butter protein snacks tightly in plastic wrap, then place them in a freezer-safe bag or container. They’ll stay fresh in the freezer for up to 3 months.
When you’re ready to enjoy a frozen bar, you have a couple of options. You can let it thaw overnight in the refrigerator for a perfectly chilled treat. Alternatively, for a slightly softer, room-temperature snack, you can microwave it for just 10-15 seconds. Be careful not to overheat, as they can get a bit gooey!
Variations of Mini Peanut Butter Protein You Can Try
While this recipe is fantastic as is, I love experimenting to see what else we can create! These variations let you tailor these bites to fit different needs and tastes.
- Vegan Mini Peanut Butter Protein: Making these vegan is super simple! Just swap the honey for maple syrup or agave nectar, and ensure you’re using a plant-based protein powder. It’s a delicious way to get your protein fix without any animal products.
- Gluten-Free Mini Peanut Butter Protein: For a gluten-free version, be sure to specifically use certified gluten-free rolled oats and crisp rice cereal. Most brands are naturally gluten-free, but it’s always good to double-check the labels to ensure these gluten free mini peanut butter protein bars meet your dietary needs.
- Keto Mini Peanut Butter Protein: To make these lower in carbs and keto-friendly, you’ll need to make a few swaps. Use a keto-friendly protein powder, sugar-free maple syrup or erythritol for sweetener, and potentially omit the crisp rice cereal or replace it with chopped nuts like almonds. This transforms them into delicious keto mini peanut butter protein treats. Explore other keto-friendly recipes.
- Low Carb Mini Peanut Butter Protein: Similar to the keto version, focus on swapping the honey for a low-carb sweetener like stevia or monk fruit drops. Using a low-carb protein powder is also essential. These adjustments make for satisfying low carb mini peanut butter protein snacks that fit perfectly into a carb-conscious eating plan.
Frequently Asked Questions About Mini Peanut Butter Protein
Can I make mini peanut butter protein ahead of time?
Absolutely! These bars are a meal-prepper’s dream. You can make a batch and store them in an airtight container in the refrigerator for up to 3-4 days. They’re fantastic grab-and-go mini protein snack ideas for busy mornings or quick energy boosts throughout the week.
Why use mini protein bars like these?
Using mini protein bars like these is a smart way to control portion sizes and manage your intake. They offer a concentrated dose of protein and healthy fats, which are excellent for sustained energy and satiety. Plus, they prevent you from overindulging compared to larger bars or less healthy snack options. Understand portion control.
What are mini peanut butter protein balls compared to bars?
Essentially, they are very similar! The main difference is the shape and how they are formed. What are mini peanut butter protein balls typically rolled by hand, while bars are pressed into a pan and cut. Both deliver the same delicious flavor and nutritional benefits, just in a different format. This recipe is designed for bars but can easily be rolled into balls if you prefer!
Are these considered high protein mini snacks?
Yes, they definitely are! Each bar provides a solid 7 grams of protein, making them excellent high protein mini snacks. This protein content helps keep you feeling full and satisfied, supports muscle repair, and contributes to your daily protein goals without a lot of extra calories.
Print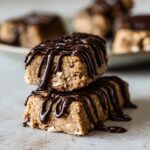
Mini Peanut Butter Protein: 24 Easy Bites
- Total Time: 45 minutes
- Yield: 24 mini bars 1x
- Diet: Vegetarian
Description
These no-bake mini peanut butter protein bars are a quick and easy healthy snack. They combine oats, crisp rice cereal, peanut butter, and protein powder, with an optional dark chocolate drizzle. Perfect for on-the-go, lunchboxes, or post-workout fuel.
Ingredients
- 2 cups old-fashioned rolled oats
- 1 cup crisp rice cereal
- ¾ cup vanilla protein powder
- ⅓ cup flax meal
- Pinch of salt
- 1 cup natural peanut butter
- ¾ cup honey
- 2 tablespoons coconut oil, melted
- 1 teaspoon vanilla extract
- For the chocolate drizzle (optional): ¼ cup dark chocolate chips, 1 teaspoon coconut oil
Instructions
- Pulse the rolled oats in a food processor or blender 10-15 times until lightly broken down.
- In a large bowl, combine the pulsed oats, crisp rice cereal, protein powder, flax meal, and salt.
- Add the peanut butter, honey, melted coconut oil, and vanilla extract to the dry ingredients. Stir until a sticky dough forms.
- If the mixture is too dry, add 1-2 teaspoons of water until it holds together.
- Line an 8×8-inch baking pan with parchment paper.
- Transfer the mixture to the pan and press it down very firmly and evenly.
- Place the pan in the freezer for at least 30 minutes to firm up.
- Melt the dark chocolate chips and coconut oil together until smooth.
- Remove the set bars from the pan using the parchment paper overhang.
- Drizzle the melted chocolate over the top. Let it set, then slice into 24 mini bars.
Notes
- Vegan Option: Substitute maple syrup or agave for honey and use plant-based protein powder.
- Gluten-Free Option: Ensure oats and crisp rice cereal are certified gluten-free.
- Nut-Free Option: Use sunflower seed butter instead of peanut butter.
- No Protein Powder: Increase oats slightly and adjust sweetener or nut butter for texture.
- Prep Time: 15 minutes
- Cook Time: 0 minutes
- Category: Snacks
- Method: No-Bake
- Cuisine: American
Nutrition
- Serving Size: 1 mini bar
- Calories: 140
- Sugar: 5 g
- Sodium: N/A
- Fat: 9 g
- Saturated Fat: N/A
- Unsaturated Fat: N/A
- Trans Fat: N/A
- Carbohydrates: 17 g
- Fiber: 2 g
- Protein: 7 g
- Cholesterol: N/A

