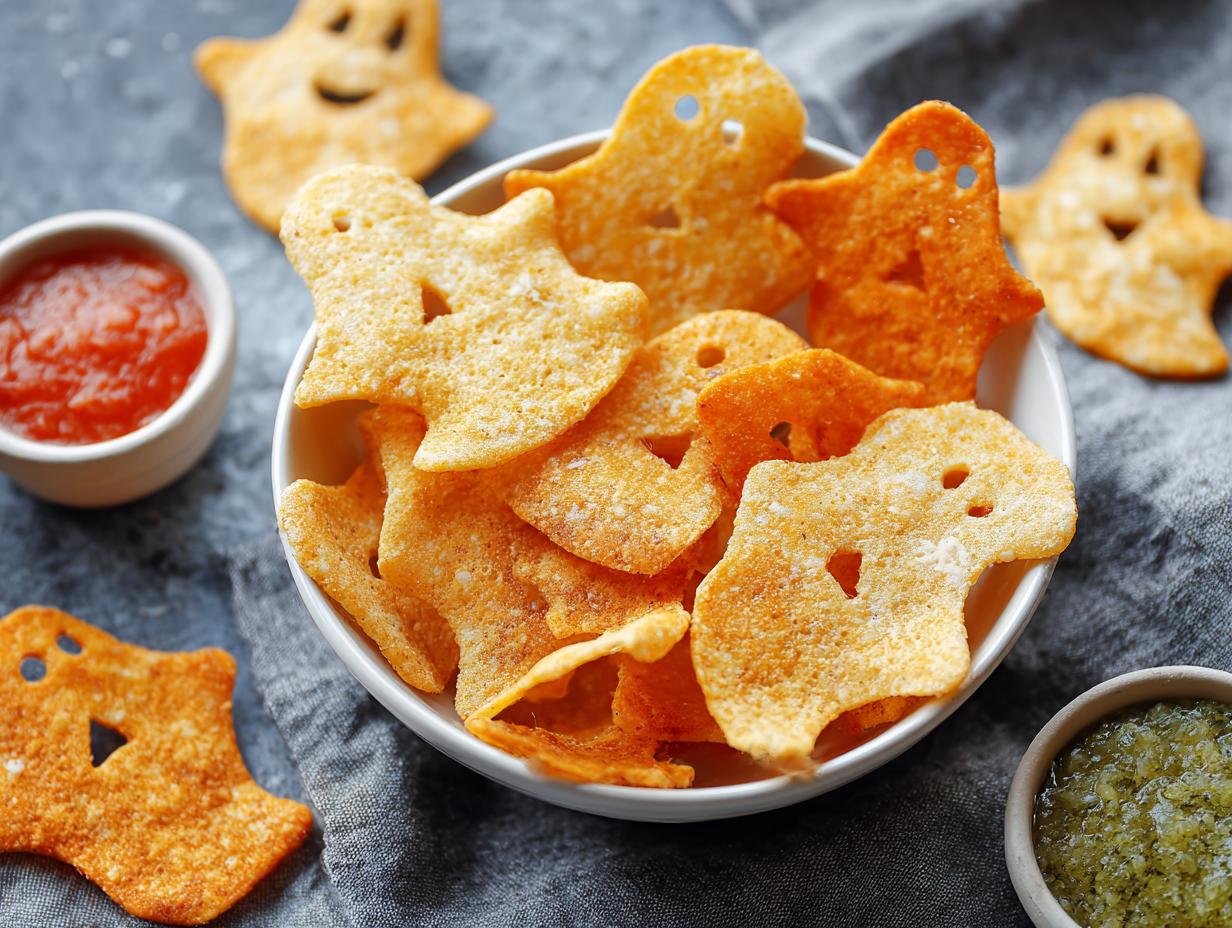
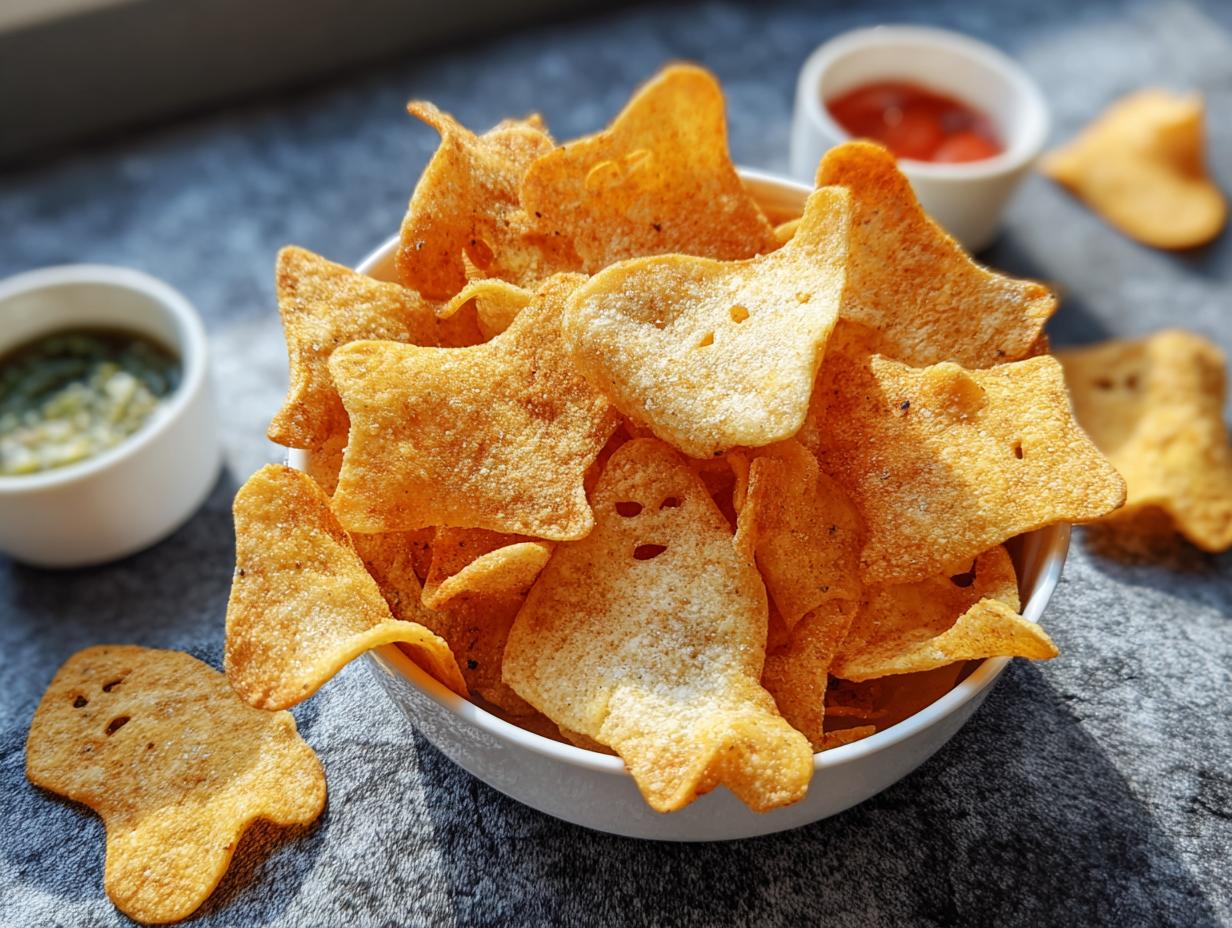
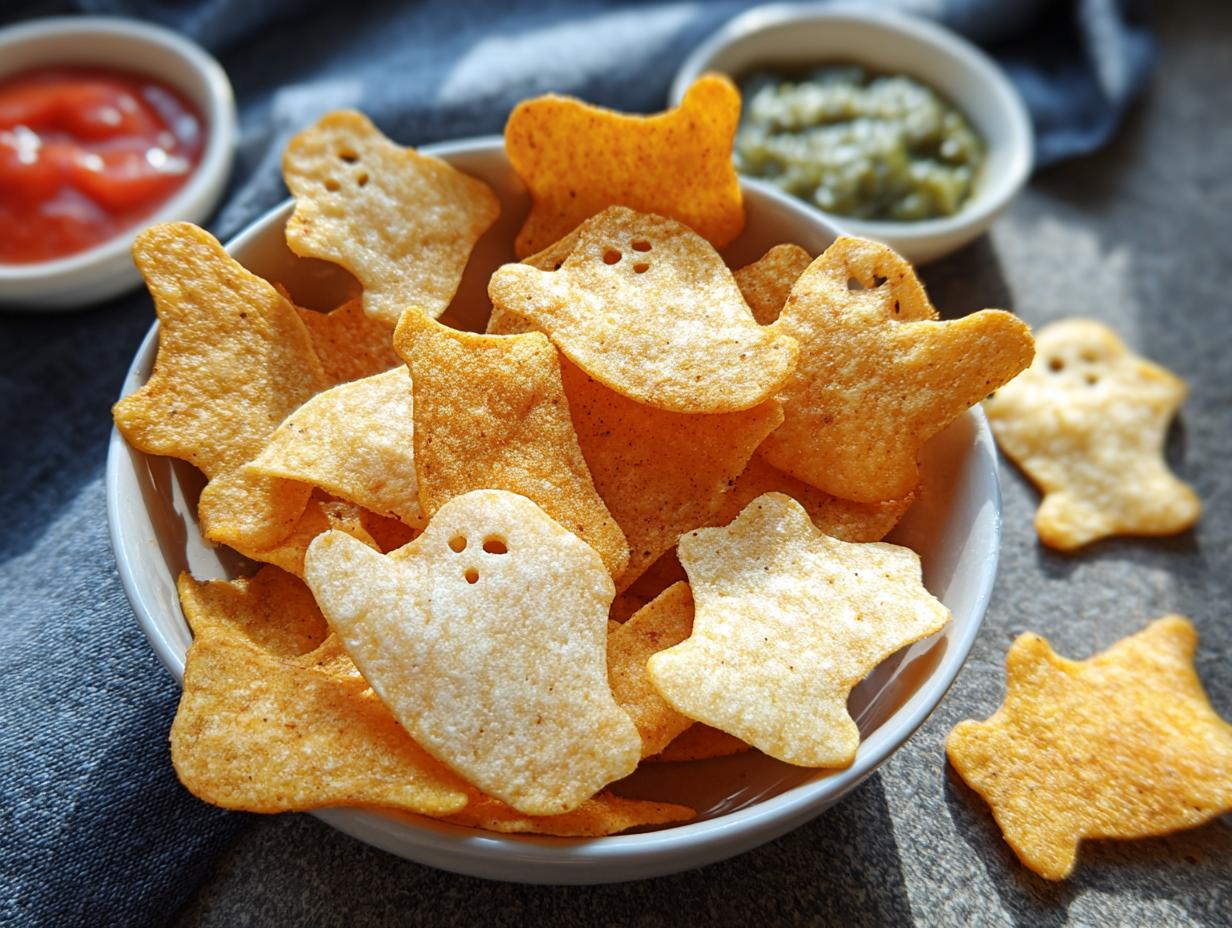
Spooky Baked Halloween Chips have become my go-to for a festive and guilt-free treat during the Halloween season. I remember the first time I made them, cutting out little ghosts and bats with my kids – the kitchen filled with the warm, toasty smell of baked tortillas and a hint of salt. They were a huge hit! These healthy Halloween snacks chips are so much better than greasy fried versions, and they’re surprisingly simple to whip up. If you’re looking for easy spooky baked chips that will delight everyone, you’ve come to the right place. Let’s get cooking!
Why You’ll Love These Spooky Baked Halloween Chips
These aren’t just any chips; they’re a delightful part of your Halloween spread! You’ll adore how incredibly easy they are to make, with a prep time that’s practically zero – perfect for busy parents. Plus, they’re a fantastic choice for healthy Halloween snacks chips, offering a guilt-free crunch. We’ve got so many fun Halloween baked chip ideas to share, making snack time exciting. They’re budget-friendly too, using pantry staples. These kid-friendly spooky baked chips are guaranteed to be a hit at any party. Get ready to impress with these creative Halloween baked chip ideas!
Ingredients for Spooky Baked Halloween Chips
Whipping up these festive treats is a breeze with just a few simple ingredients. For this recipe, you’ll need tortillas – I like to use 4 flour tortillas, but feel free to grab gluten-free tortillas if that suits your needs better. You’ll also need a light coating of spray avocado oil or olive oil, which helps them get perfectly crisp without being greasy. A sprinkle of salt, to taste, is essential for that classic chip flavor. The real fun comes with the Halloween cookie cutters – think ghosts, pumpkins, bats, and skulls! These allow us to create those adorable, themed shapes that make these homemade Halloween chips so special. The oil helps the salt adhere and gives the chips a lovely golden hue.
How to Make Spooky Baked Halloween Chips
Let’s dive into making these fun, festive treats! It’s surprisingly simple, and the results are so rewarding. Here’s exactly how to make your own spooky baked chips.
- Step 1: Get your oven preheated to 375°F (190°C). While it heats up, lightly grease a baking sheet or line it with parchment paper. This prevents any sticking and makes cleanup a breeze.
- Step 2: Now for the fun part! Grab your Halloween cookie cutters and carefully punch out shapes from your flour tortillas. You should get about 5–6 shapes per tortilla. Don’t discard those leftover scraps; cut them into strips to bake as extra chips! This is a great way to minimize waste.
- Step 3: Arrange your cutouts on the prepared baking sheet. Make sure not to overcrowd the pan; give them a little space so they can bake evenly. Lightly mist the tops of the chips with your spray avocado or olive oil, then sprinkle them with salt. This oil spray is key to achieving that perfect crispness.
- Step 4: Carefully place the baking sheet into the preheated oven. Bake for about 5–7 minutes on the middle rack. It’s important to keep an eye on them and rotate the pan halfway through. Chips can go from perfectly golden to burnt very quickly, so watch them closely!
- Step 5: Once they’re beautifully golden and slightly crisp, remove them from the oven. Let them cool on the baking sheet for a few minutes; they’ll continue to crisp up even more as they cool down. This is how to make spooky baked chips that have the best texture.
- Step 6: Serve your wonderfully crafted homemade Halloween chips warm or at room temperature. They’re absolutely delicious with salsa, guacamole, pumpkin hummus, or a warm queso dip. Enjoy your easy spooky baked chips!

Pro Tips for the Best Spooky Baked Halloween Chips
Want to elevate your homemade Halloween chips? Follow these insider tips for guaranteed success and the most delicious results. These tricks will ensure your spooky baked chips are a party favorite!
- Don’t overcrowd your baking sheet. Give each shape space to ensure even crisping and prevent sogginess.
- Use a light hand with the oil spray. A thin, even coating is all you need for that perfect golden crunch.
- Watch them like a hawk! Tortillas brown very quickly, so check them around the 5-minute mark to avoid burning.
- Experiment with seasonings! Beyond salt, try chili powder, garlic powder, or even a touch of cinnamon sugar for sweet treats.
What’s the secret to perfect Spooky Baked Halloween Chips?
The real secret to achieving the best baked Halloween chips is a combination of a light oil mist and careful baking. Ensuring each chip has a little space and is baked until just golden, then allowing them to crisp up as they cool, makes all the difference. For more baking tips, check out these baking tips.
Can I make Spooky Baked Halloween Chips ahead of time?
Yes, you can definitely prep your shapes ahead of time! Cut out your tortilla shapes and store them in an airtight container at room temperature for up to 24 hours before baking. This is a great way to get a head start on your homemade Halloween chips.
How do I avoid common mistakes with Spooky Baked Halloween Chips?
The most common mistake is overcrowding the pan, which leads to soft, unevenly baked chips. Also, be careful not to over-bake; they crisp as they cool. Keep a close eye on them during the last few minutes of baking. Learning about proper baking techniques can help prevent these issues.
Best Ways to Serve Spooky Baked Halloween Chips
These festive chips are incredibly versatile and perfect for any Halloween gathering! For a classic pairing, serve them alongside a vibrant bowl of homemade guacamole or a creamy pumpkin hummus. They also make fantastic savory baked Halloween snacks when dipped into a warm, bubbling queso or a spicy salsa. Don’t forget the little ones; they’ll adore dipping these fun shapes into a mild cheese dip. You can also arrange them artfully on a platter with various dips for a delightful appetizer spread that screams Halloween spirit and offers a variety of textures and flavors.
Nutrition Facts for Spooky Baked Halloween Chips
These festive chips are a lighter alternative to fried snacks, making them a great choice for your Halloween party. Here’s a breakdown of what you can expect per serving:
- Calories: 100
- Fat: 3g
- Saturated Fat: 0.5g
- Protein: 2g
- Carbohydrates: 16g
- Fiber: 1g
- Sugar: 0g
- Sodium: 150mg
Nutritional values are estimates and may vary based on specific ingredients used, such as the type of tortilla and oil. For more information on healthy eating, you can consult resources on nutrition.gov.
How to Store and Reheat Spooky Baked Halloween Chips
Once your delightful homemade Halloween chips are baked and cooled, storing them properly is key to keeping them crispy. Make sure they are completely cool to the touch before packing them away. For the best results, store them in an airtight container at room temperature. They should stay perfectly crisp for about 3 to 4 days. If you find yourself with more delicious chips than you can eat in a week, don’t worry! You can freeze these spooky season baked chips for up to 3 months. Just ensure they are well-wrapped in plastic wrap, then a layer of foil, to prevent freezer burn.
When you’re ready to enjoy your stored chips, reheating is super simple. If they’ve been in the fridge or just lost a bit of their crispness, spread them in a single layer on a baking sheet and pop them into a preheated oven at 350°F (175°C) for about 2–3 minutes. This little trick will bring back that amazing crunch, making them taste just like they’re fresh out of the oven. It’s a great way to revive any leftover Halloween party food baked chips. For other great baking ideas, try this chocolate dump cake.

Frequently Asked Questions About Spooky Baked Halloween Chips
What are spooky baked chips?
Spooky baked chips are a fun and healthier alternative to traditional fried chips, made by cutting tortillas into festive Halloween shapes and baking them until crisp. My kids absolutely love them because they’re shaped like ghosts and bats, making them a perfect treat for spooky season baked chips.
Can I make Spooky Baked Halloween Chips with sweet flavors?
Absolutely! While these are typically enjoyed as savory snacks, you can easily create sweet versions. After baking, toss them with a sprinkle of cinnamon and sugar for a delightful dessert chip. These are fantastic for a sweet treat and offer another one of our creative Halloween chip recipes. You might also enjoy these gingerbread cheesecake cookies.
What kind of dips pair well with these homemade Halloween chips?
These homemade Halloween chips are incredibly versatile! For savory options, they’re delicious with guacamole, salsa, pumpkin hummus, or queso. For sweet chips, try them with a fruit dip or even a chocolate fondue. They truly are wonderful savory baked Halloween snacks or sweet treats, depending on your seasoning.
Are these gluten-free spooky baked chips?
The recipe as written uses flour tortillas, so they are not inherently gluten-free spooky baked chips. However, you can easily make them gluten-free by substituting corn tortillas or specific gluten-free/grain-free tortillas. Just check the packaging to ensure they meet your dietary needs. For more gluten-free options, explore keto recipes.
Variations of Spooky Baked Halloween Chips You Can Try
Once you’ve mastered the basic recipe, there are so many fun ways to customize these festive treats! These creative Halloween chip recipes let you tailor them to any taste or dietary need. For a delicious gluten-free option, simply swap out the flour tortillas for your favorite gluten-free spooky baked chips made from corn or almond flour. If you’re looking for something a bit different, try a sweet variation: after baking, toss them with a sprinkle of cinnamon and sugar for a dessert-worthy snack. You can also experiment with different seasonings like smoked paprika, garlic powder, or even a touch of chili powder for a spicy kick, making them fantastic savory baked Halloween snacks. These adaptable chips are perfect for any Halloween party! Consider trying a cinnamon spiced veggie loaf for another fall favorite.
Print
Spooky Baked Halloween Chips: Delightful Fall Treat
- Total Time: 17 minutes
- Yield: 4 – 6 servings 1x
- Diet: Vegetarian
Description
Create festive and healthy Spooky Baked Halloween Chips using simple ingredients and Halloween cookie cutters. These oven-baked tortilla chips are a kid-friendly treat perfect for parties, lunchboxes, or movie nights, offering a lighter alternative to fried snacks.
Ingredients
- 4 flour tortillas (use gluten-free or grain-free if needed)
- Spray avocado oil or olive oil
- Salt, to taste
- Halloween cookie cutters (ghosts, pumpkins, bats, skulls)
Instructions
- Preheat oven to 375°F (190°C). Lightly grease or line a baking sheet.
- Use Halloween cookie cutters to punch shapes from tortillas (5–6 cutouts per tortilla). Cut leftover scraps into strips to bake as extra chips.
- Place cutouts on the sheet without overcrowding. Lightly mist with avocado or olive oil spray and sprinkle with salt.
- Bake 5–7 minutes on the middle rack, rotating the pan once. Watch closely—chips brown quickly.
- Remove and let cool a few minutes; they will crisp further as they cool.
- Serve warm or at room temperature with salsa, guacamole, pumpkin hummus, queso, or your favorite dips.
Notes
- For crispier chips, do not overcrowd the baking sheet and use spray oil for a light, even coating.
- Optional seasonings include chili powder, smoked paprika, garlic powder, taco seasoning, everything bagel spice, lime zest & sea salt, or cinnamon sugar for sweet chips.
- For presentation, serve in a cauldron or on a black tray, and label dips with spooky names like “Witch Slime” (guac) or “Lava Sauce” (queso).
- Store cooled chips in an airtight container at room temperature for up to 3 days. Re-crisp at 350°F (175°C) for 2–3 minutes if needed.
- Prep Time: 10 minutes
- Cook Time: 7 minutes
- Category: Appetizer
- Method: Baked
- Cuisine: American
Nutrition
- Serving Size: 1 serving

